Building a snow fort can be a fun and memorable winter activity for both kids and adults. Here's a step-by-step guide based on our experience to help you build the most epic snow fort or igloo:
How to Build an Amazing Snow Fort
1. Plan Your Perimeter:
Decide on the size of your snow fort and mark the perimeter by drawing a line in the snow. This will help you visualize the space you have to work with. Think wisely before marking your territory, as this spot should be a place you are willing to leave exposed for a decent amount of time and are ok with your kids playing in.
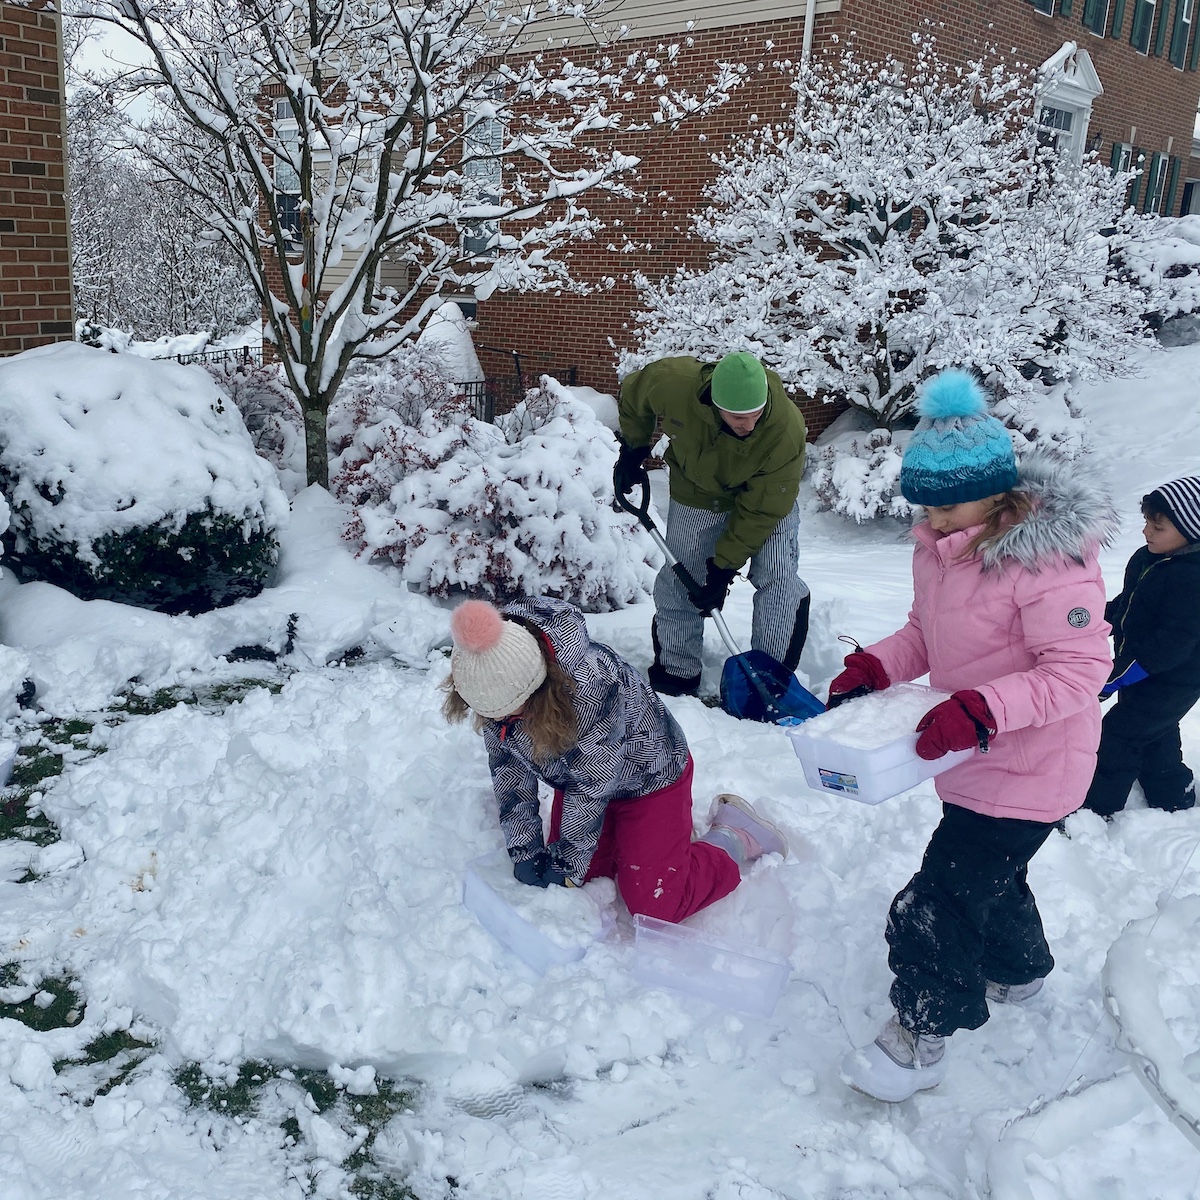 |
2. Use a Shoebox as a Mold:
Employ plastic shoeboxes as a mold for creating snow bricks. Opt for a shoebox size as larger tubs can be cumbersome. Pack snow into the shoebox and compact it to form sturdy bricks.
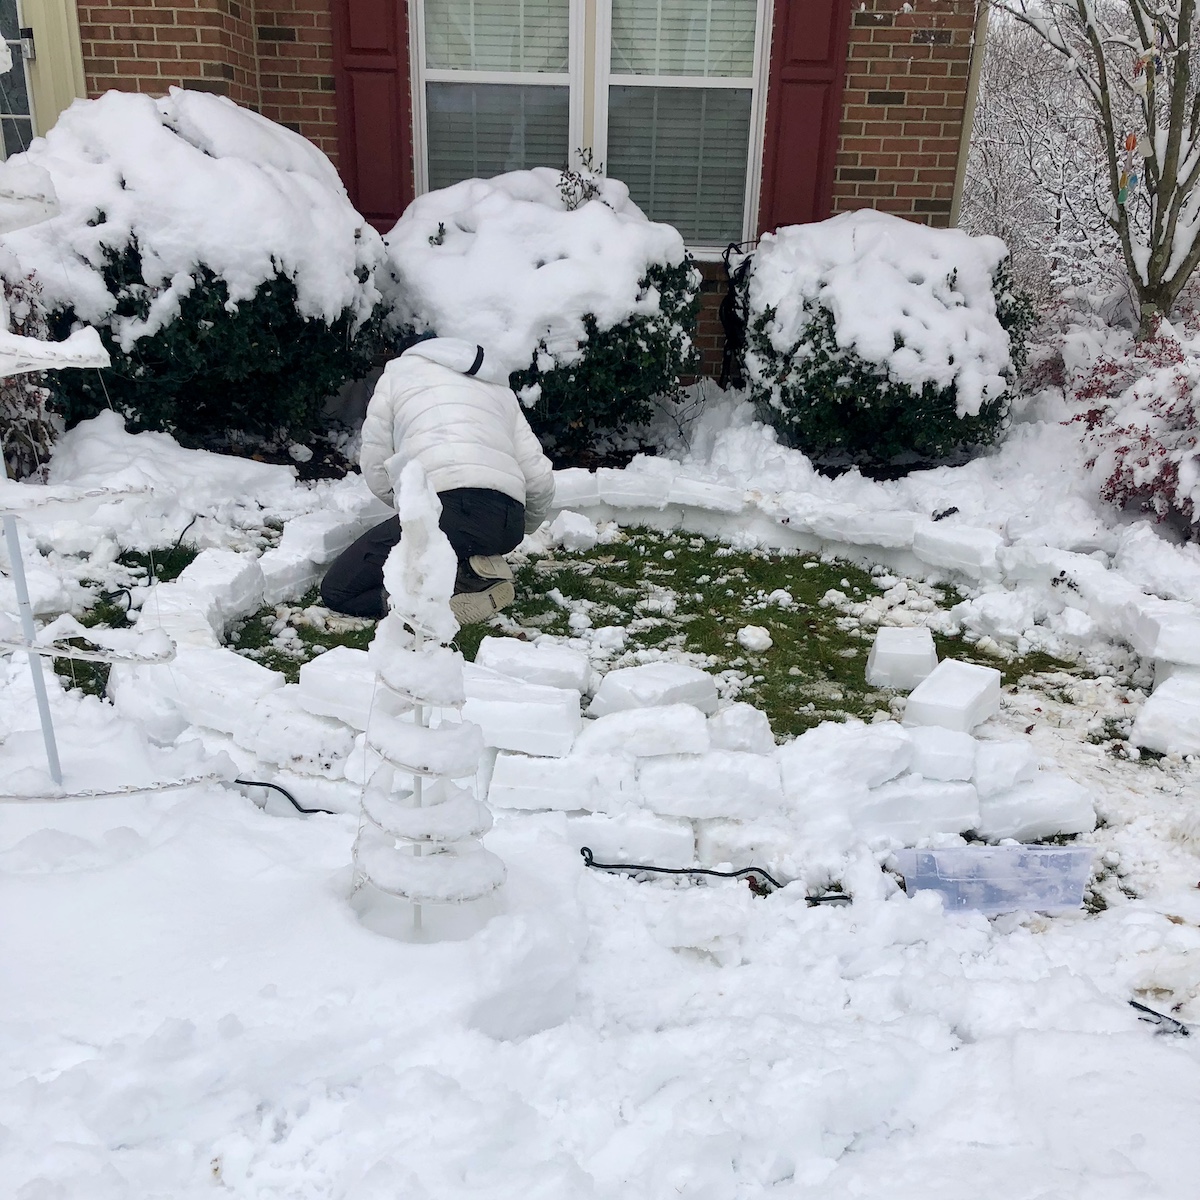 |
3. Lay a Solid Foundation:
Lay down the first layer of snow bricks to create a solid foundation. Adjust the size and shape of your fort as needed, keeping in mind that ambitious plans might require adjustments.
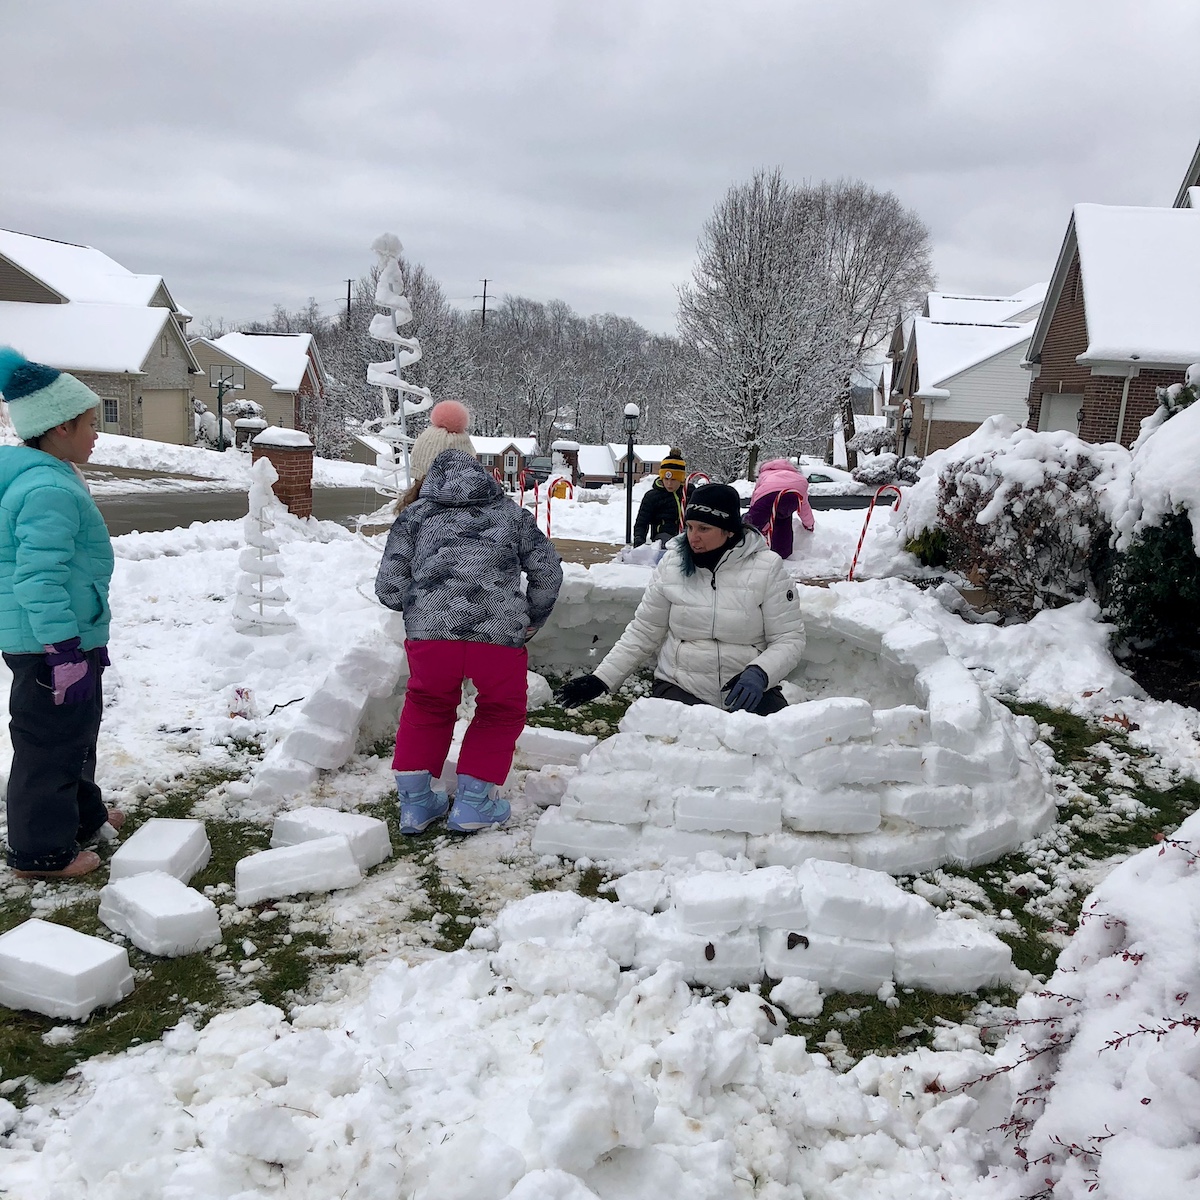 |
4. Choose Between Igloo and Fort:
Decide whether you want to build a classic fort or an igloo. For an igloo, gradually move each layer of bricks inward to create a rounded shape. If building a fort, stack the bricks like you would see them in a house. Use fresh snow to fill in any weak spots.
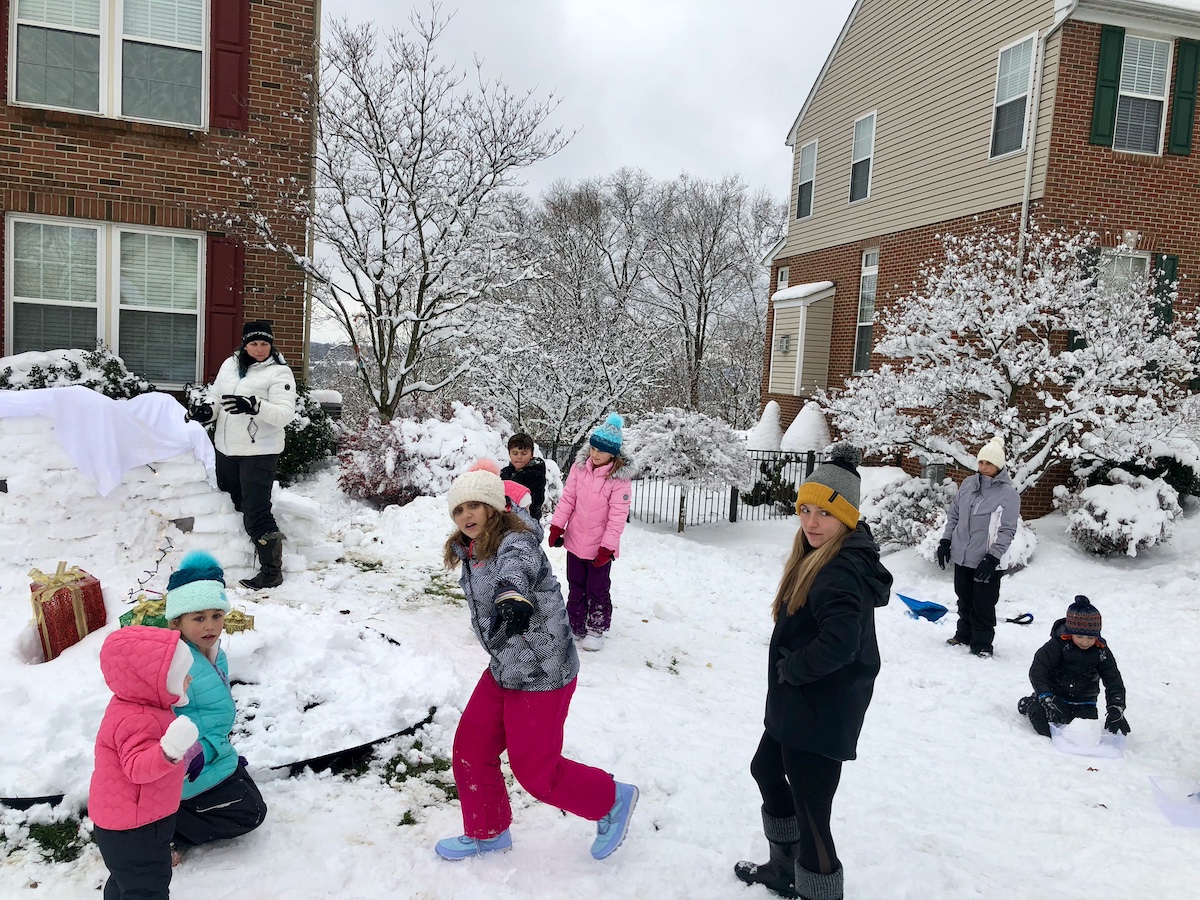
5. Recruit Helpers:
Building a snow fort is more fun and efficient with help. Recruit friends, family, or neighbors to join in the construction process. More hands make the work lighter, and small kids can pack the shoeboxes while older kids or an adult can dump and stack.
 |
6. Consider Safety:
If concerned about the structural integrity of a snow roof, consider using a sheet or tarp instead like we did. This eliminates the risk of collapse and provides a cozy, sheltered space inside the fort.
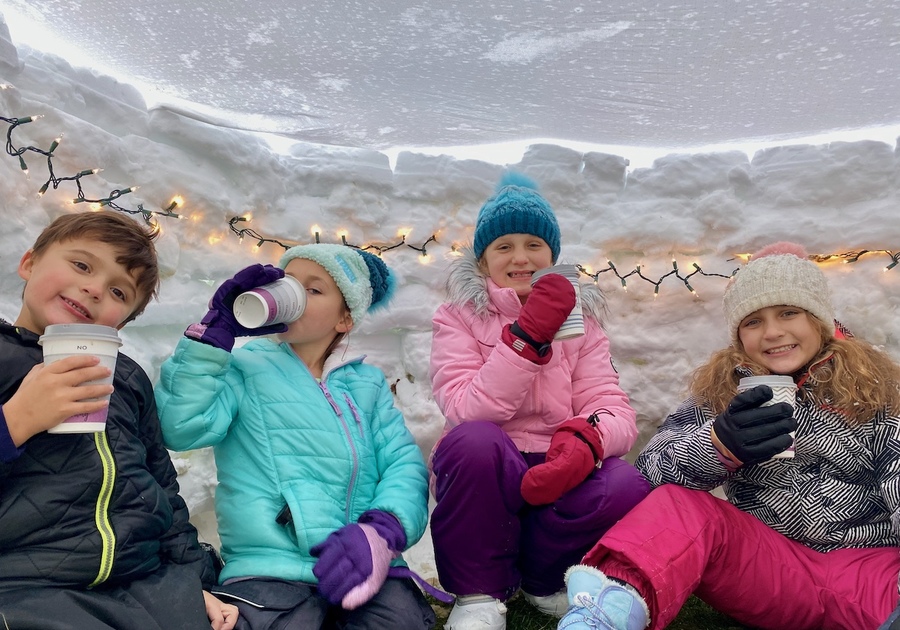
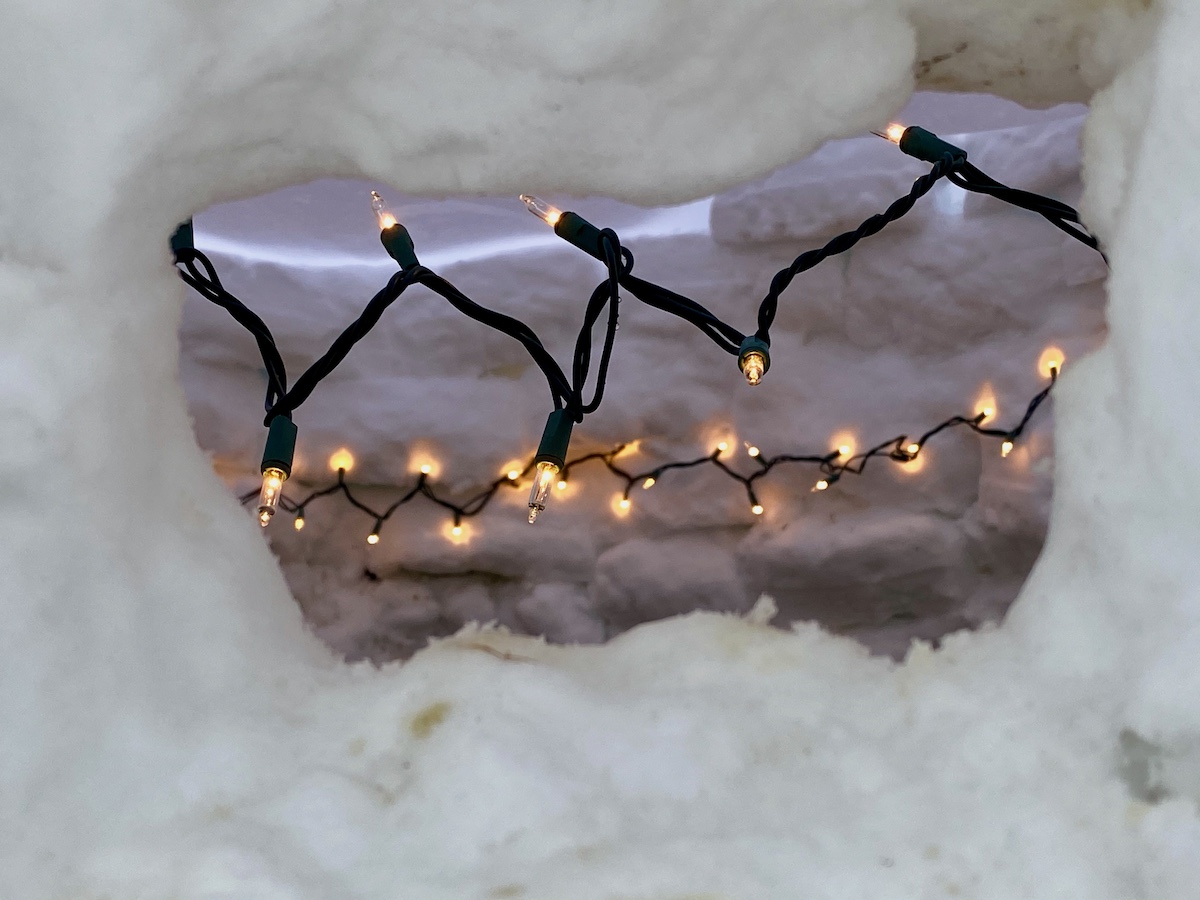
7. Add Decorations:
Make your snow fort festive by hanging Christmas lights. The twinkling lights will add a magical touch to your winter creation. Be creative with decorations to personalize the fort.
 |
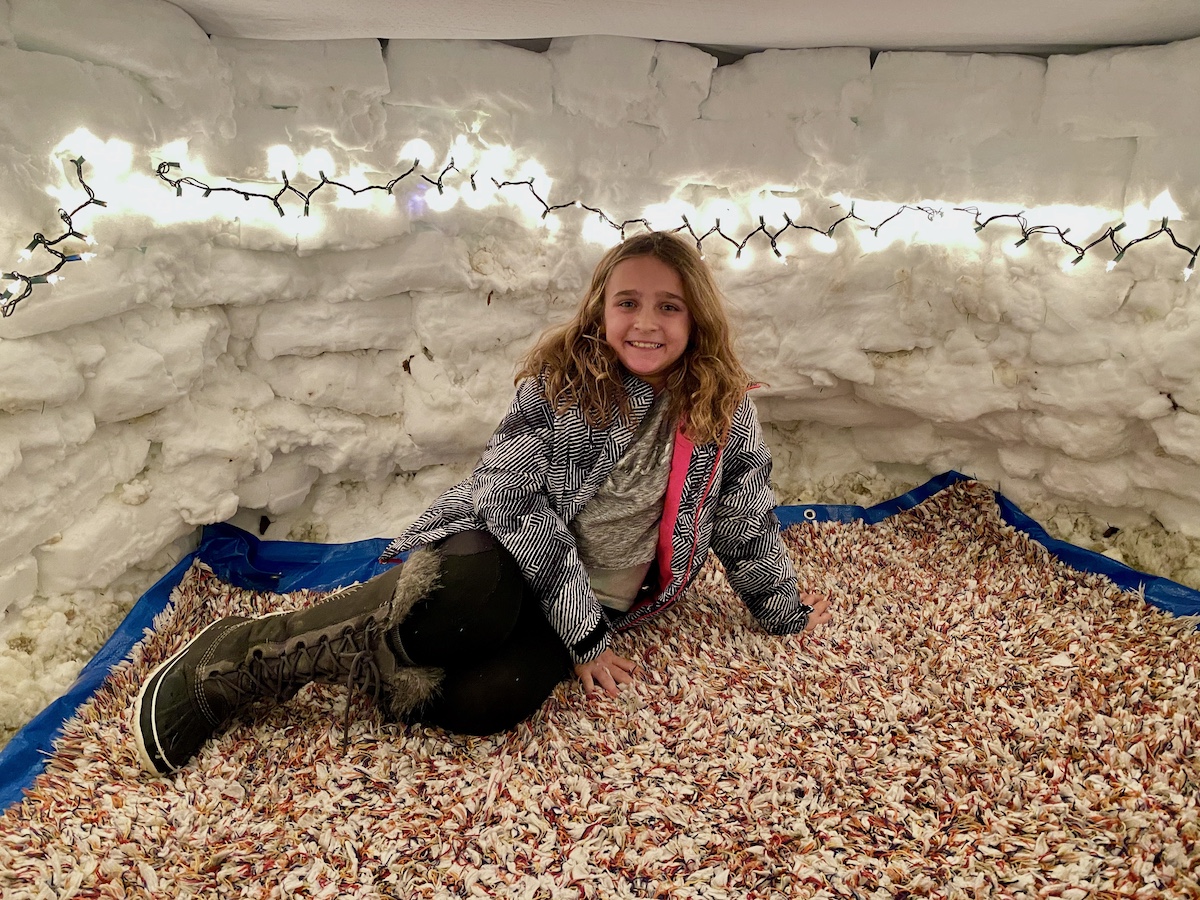
8. Create a Comfortable Space:
Lay a tarp on the ground to serve as a water barrier and provide insulation. Add a shag rug inside the fort for a cozy seating area. This ensures that the kids have a comfortable and dry place to enjoy their time.
 |
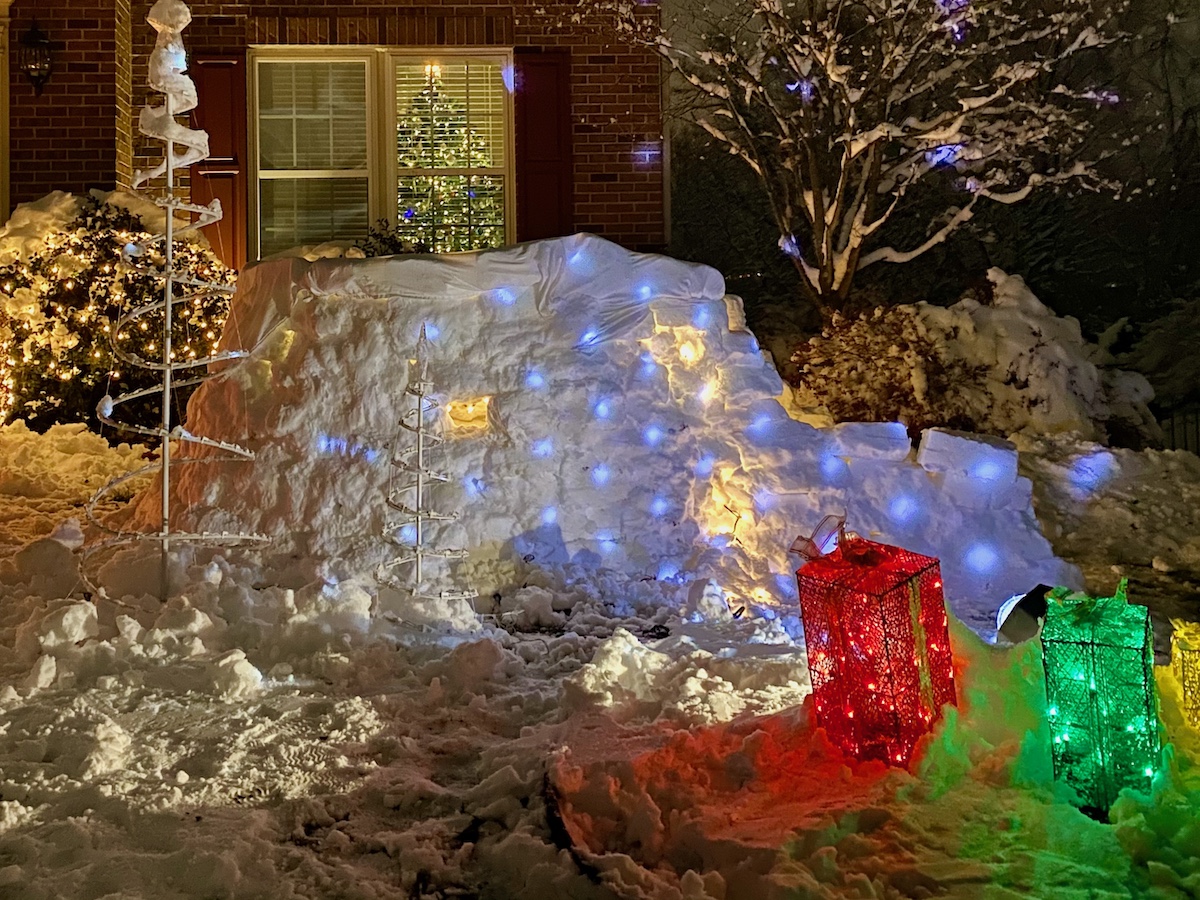
9. Enjoy Your Snow Fort:
Once your snow fort is complete, gather inside with friends and family to enjoy the cozy and magical atmosphere. Take pictures and create lasting memories of your winter masterpiece.
 |
Building a snow fort can be a collaborative and enjoyable activity, fostering creativity and teamwork while embracing the winter season. Stay warm, have fun, and don't forget to tag us using #pghmackid in your creations!